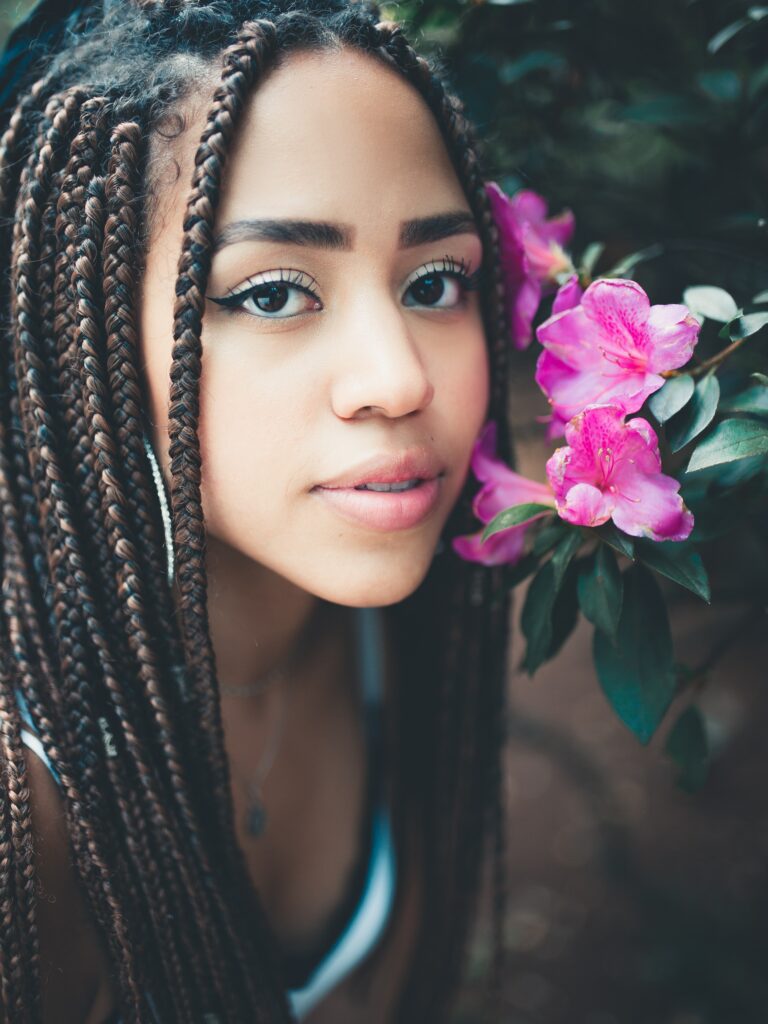
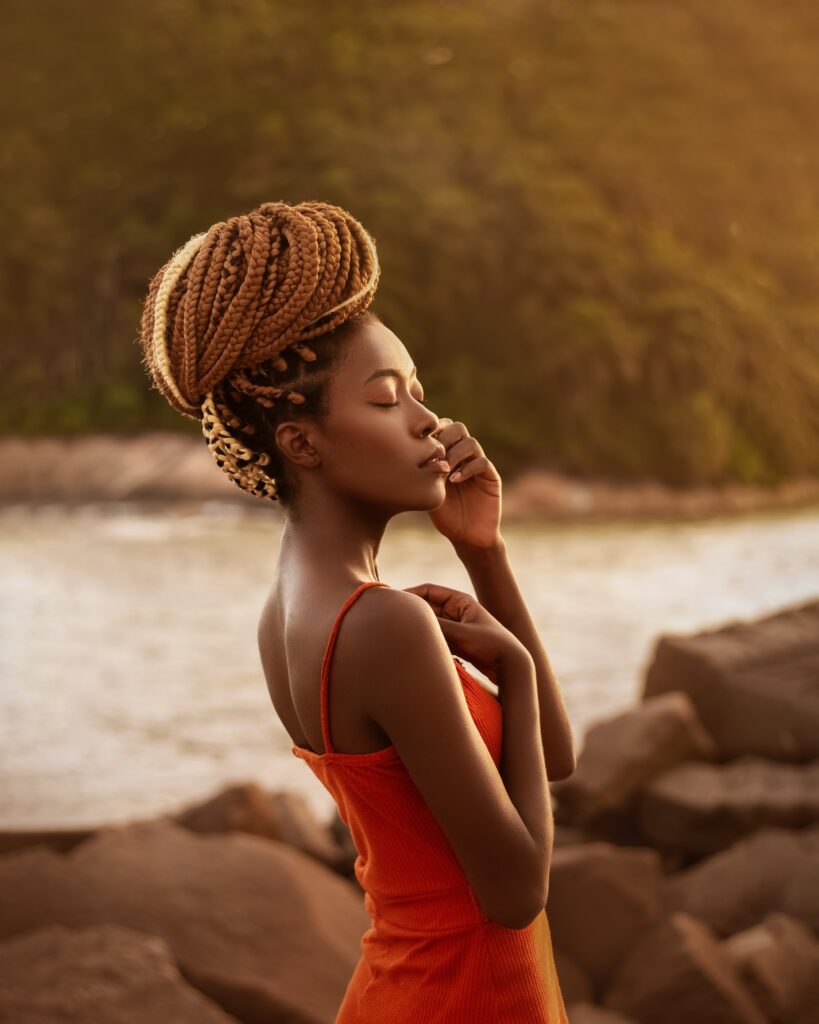
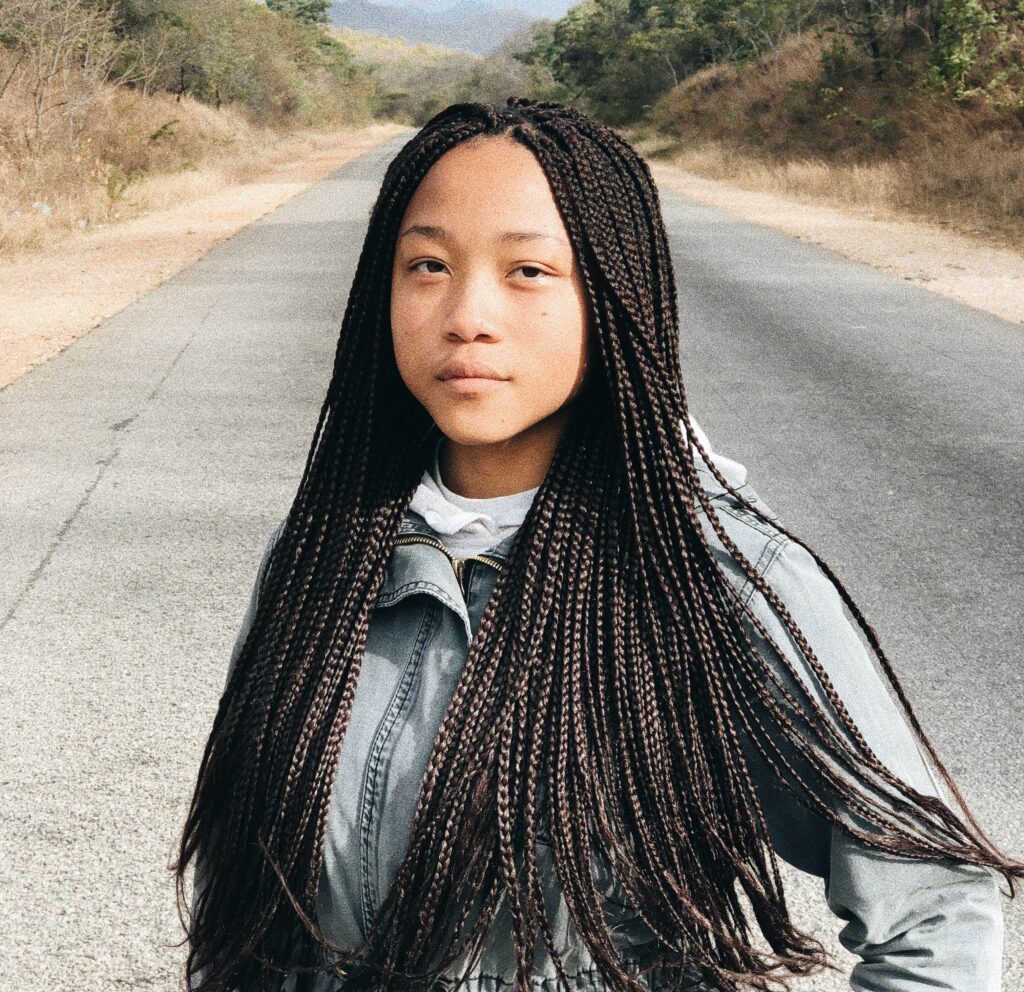
Protective Hairstyles
Any hairstyle that keeps the ends safely tucked away, requires little maintenance, and no heat can be categorized as a protective hairstyle. Some protective styles require a professional to accomplish and some can be done by oneself. All styles should be easily maintained at home, however.
Protective hairstyles can protect the hair from the weather, whether this is from wintery conditions such as snow and dry cold air, or during the summer from excessive heat, sun, wind, and water damage. These hairstyles also protect the hair from frequent styling that can lead to hair damage.
There are some basic rules to adhere to for protective hairstyles:
- Always prep your hair properly – this means start with clean, deep-conditioned hair. If you plan on keeping the hairstyle for a longer period of time, it may be a good idea to get a trim first.
- Wash your hair once or twice a week, and keep your scalp and hair moisturized by using oil on your scalp and spraying the hair with a leave-in conditioner.
- All styles have a specific expiration date. The date can be somewhat different per person, depending on how fast the hair grows and the specific style. Some are easier to maintain for a longer time – such as a wig, but braids may look messy as the new hair grows longer, while others, such as sisterlocks, will become permanent if you do not undo them in time.
- It is also time to take down the style when you notice build-up and a dry and flaky scalp. The hair is also more difficult to clean properly in some styles and may become dirty and develop a smell.
Here are some protective hairstyles to try:
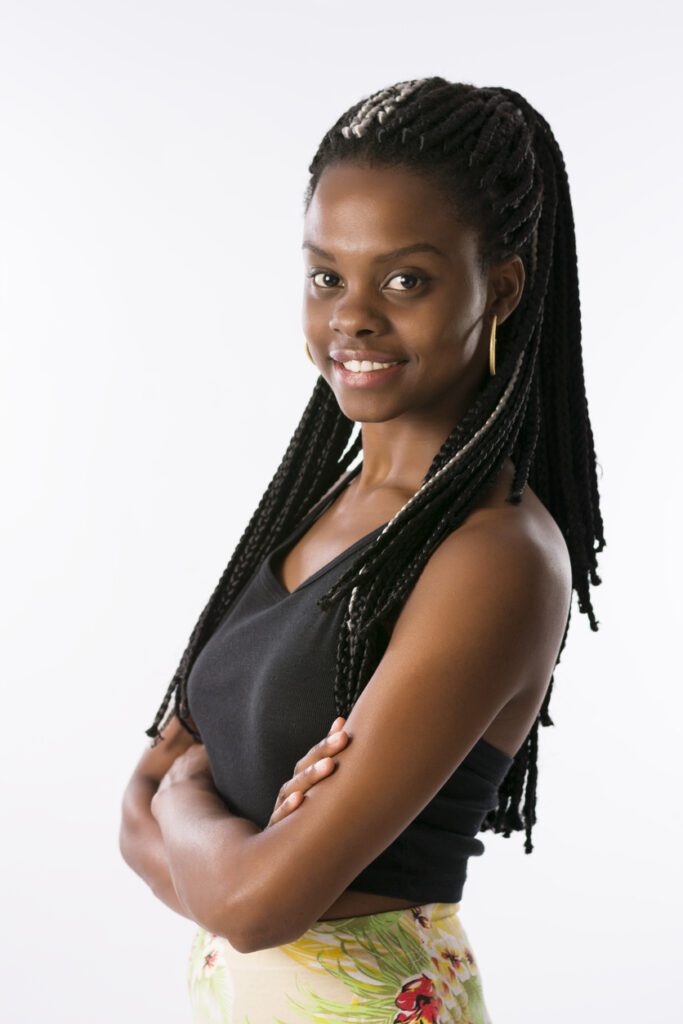
CORNROWS
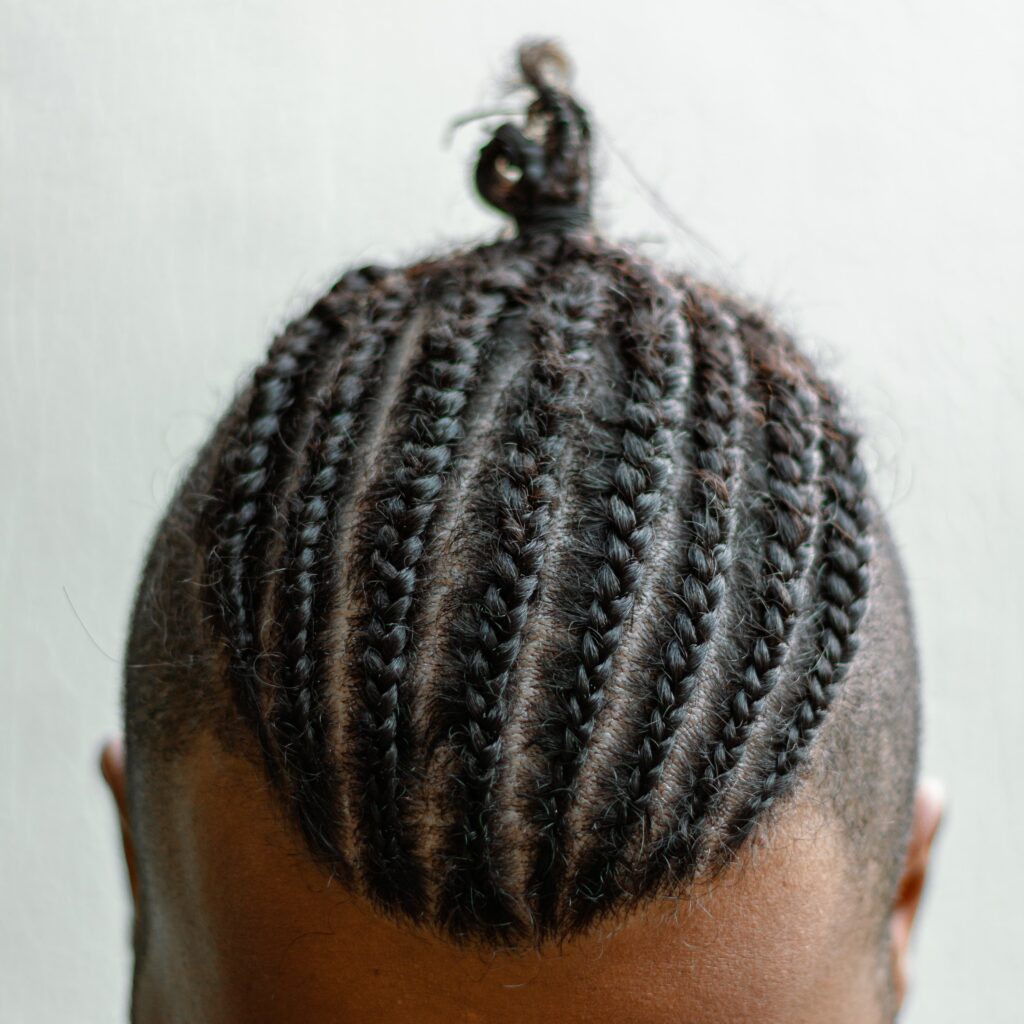
These are some of the most popular protective hairstyles and can be used to protect both natural and chemically relaxed hair. They are low maintenance and can be styled in a lot of different ways.
How to cornrow your hair:
- Prep your hair to prevent frizz and add moisture. Let the hair air dry before braiding
- Part the hair in individual sections using the tail end of a rattail comb. Create the size section you want, skinnier sections will result in smaller cornrows, while larger sections will yield bigger cornrows. The patterns that these sections can take can vary endlessly – however, if you are just starting out keep it simple – front to back or side to side.
- At the hairline divide the hair section into three parts for braiding.
- Begin braiding starting with the small section of hair at the hairline. Since you are just starting out – keep to the basic style of braiding straight back.
- Add more hair into the cornrow – each time you pick up one of the three parts add hair from the section into the braid, add an even amount each time to ensure that the cornrow looks uniform.
- As you continue the braid, you may need to detangle the hair – use your fingers to gently detangle by pulling your fingers through the hair as you work through it. It may help to have a spray bottle nearby filled with a mixture of water and a leave-in conditioner or natural oil.
- You can choose to continue braiding the entire section to the scalp or to have some of the hair hang loosely by braiding it as you would a regular braid.
- When you reach the ends, secure them. If you are braiding hair that has tight curls or coils, simply curl the ends around your finger and they will stay secure. If your hair is looser use snap-free rubber bands or barrettes.
- Repeat for the remaining sections. Basic cornrows will stay neat for roughly two weeks if you remember to sleep with a silk or satin cap or scarf.
You can jazz up the above-mentioned cornrows by placing the braids in a low bun, high ponytail, or by attaching a faux ponytail.
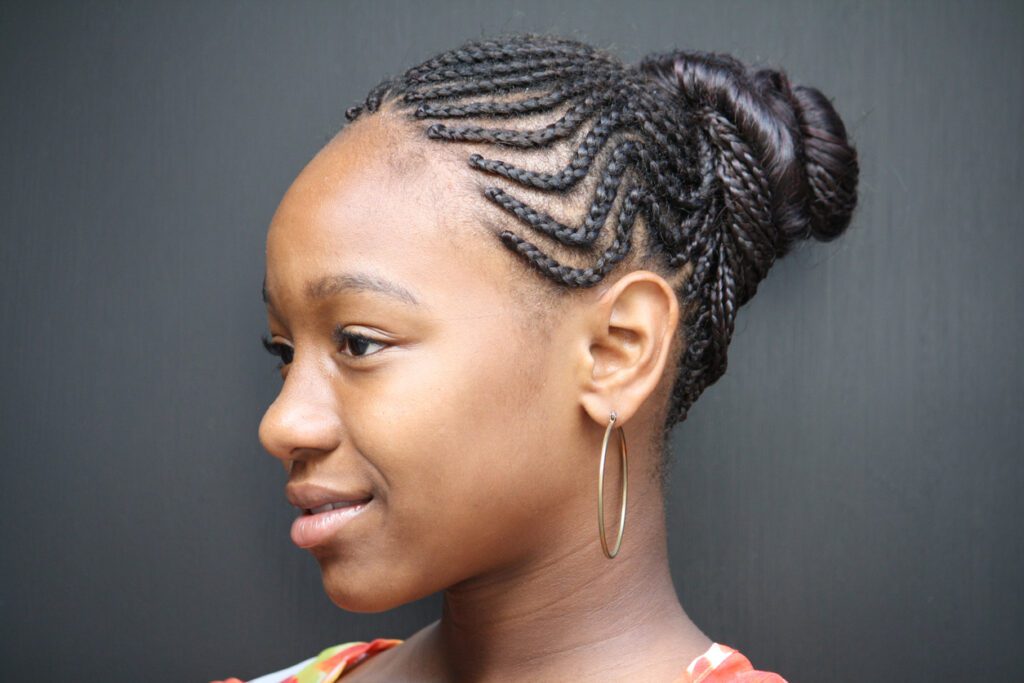
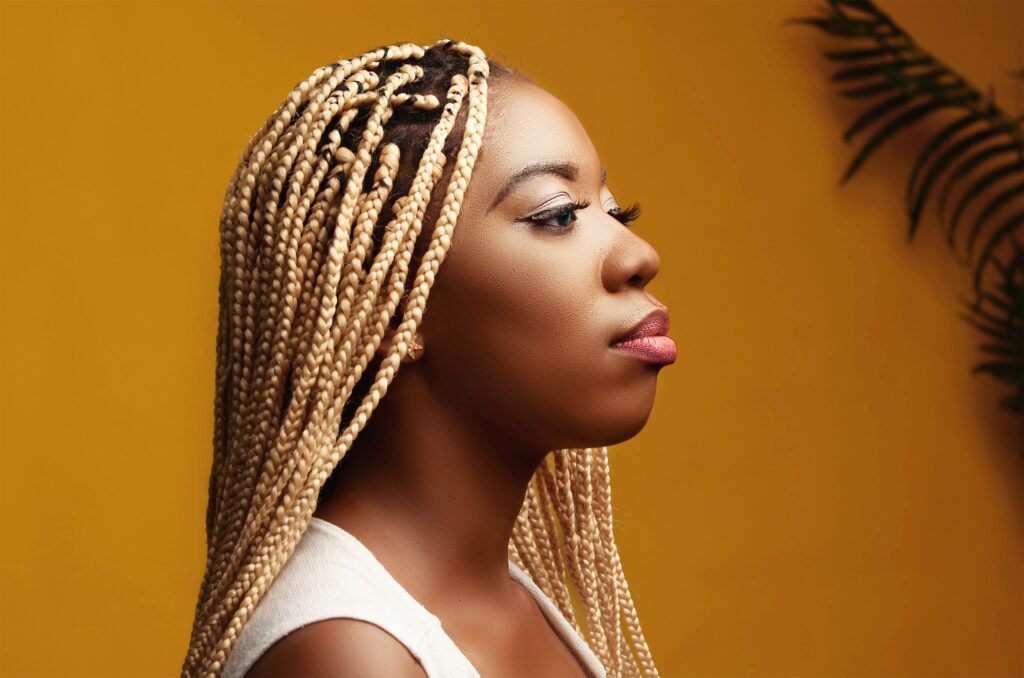
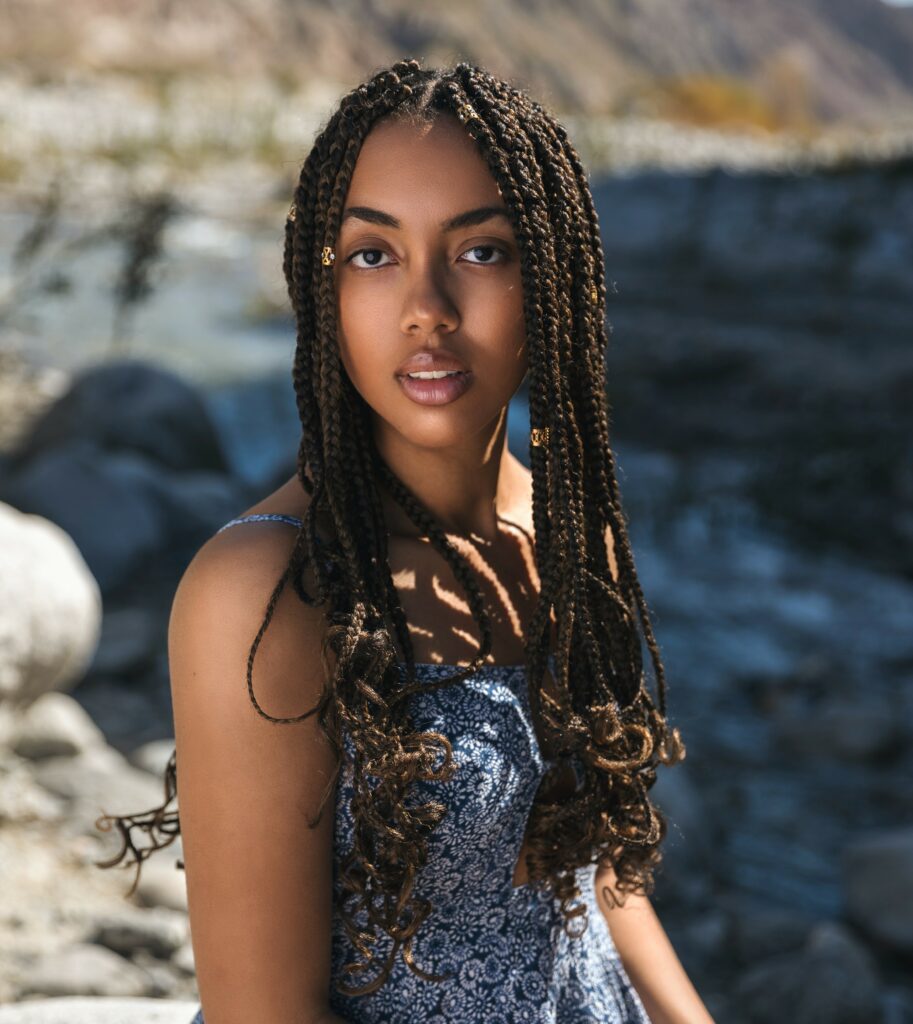
BOX BRAIDS

A different version of cornrows are known as Dutch braids or box braids. Here’s how to create this look:
- Start with clean hair that has been air-dried.
- Using a comb, create a precise center part, separating the hair into two sections (which are the same size). Tie up the section you are not using to keep it out of the way.
- Starting at the front hairline, divide the section into three even pieces.
- Start braiding by crossing the left portion under the middle, then cross the right portion under the middle.
- Continue braiding from front to back picking up some sections of hair from either side of the braid as you move down.
- Secure the ends by either curling them around your finger or using a rubber band.
- Repeat the process on the other side.
In order to ensure that your hair stays moisturized and to prevent flyaways – you may want to incorporate a couple of pumps of hair oil while braiding the hair.
You can jazz up the braids by incorporating different colored extensions, thread, or a scarf.
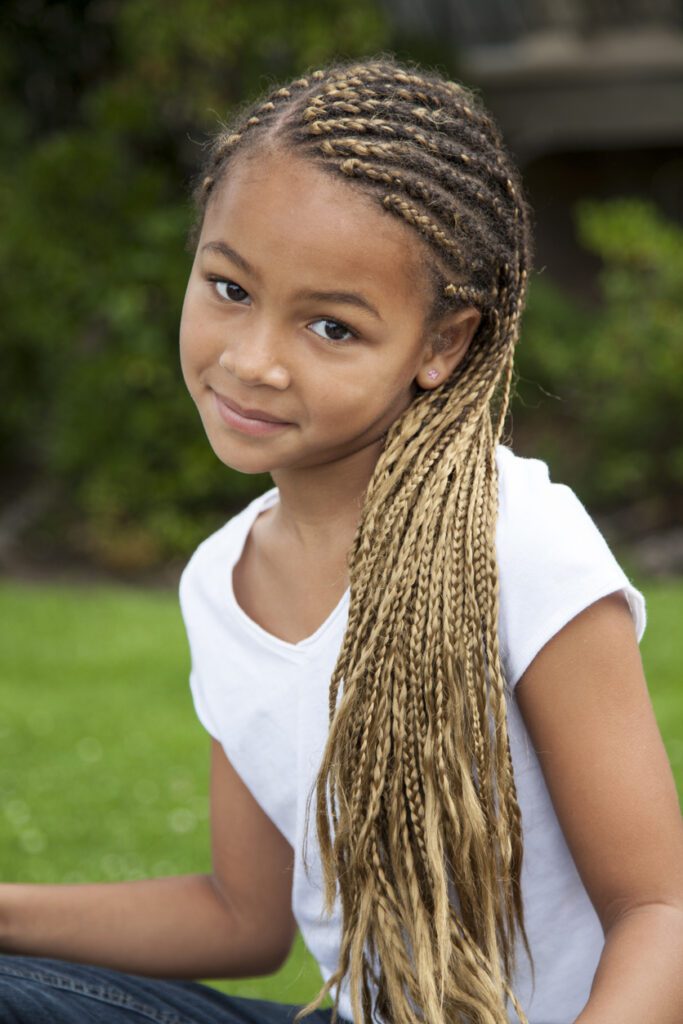
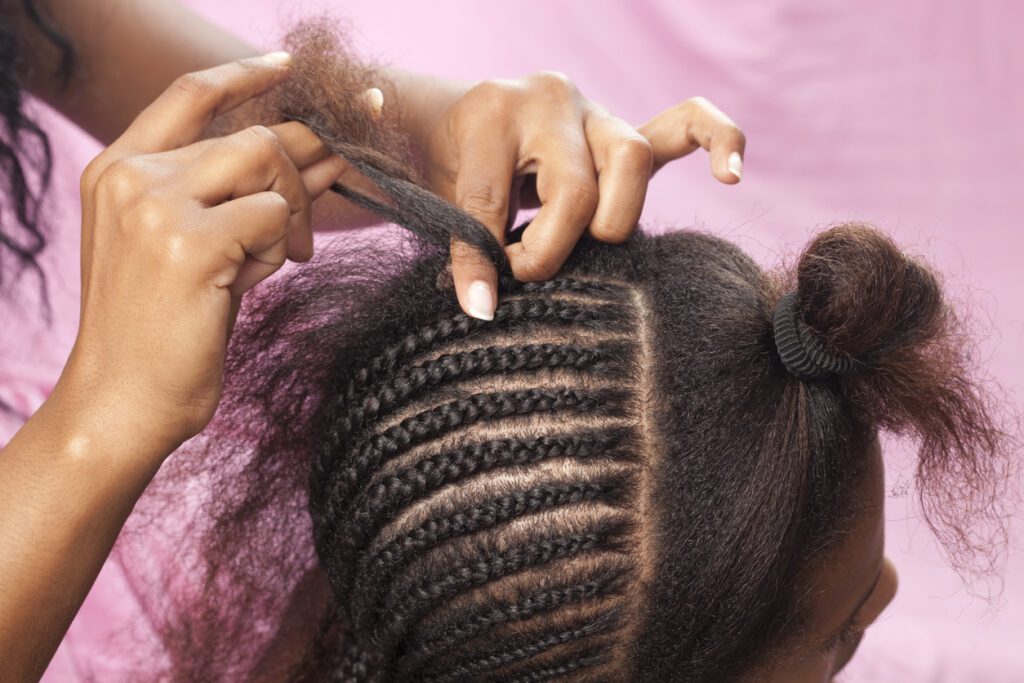
FULANI BRAIDS – these are another variety of basic cornrows. The style originates in the Fulani culture in West Africa and uses an extension to create added thickness. Before you start this style you will need two packets of hair extensions, a rat tail comb, rubber bands, and if you wish, clips, beads, and other accessories.
- Take the extensions out of the packaging and divide them into thin sections – setting them out separately on a flat surface close at hand.
- Part your hair according to the way you wish to style it, apply some dry shampoo to soak up any excess oils. Also, apply a hair cream to moisturize your scalp and smoothen out your hair.
- Take a single narrow (pencil thickness) section of hair from one side of the parting and divide it into three further subsections.
- Begin braiding a simple three-section braid – after the first knot, take a section of extension and fold it in half. Hold the extension by the bend and add it to the section of hair you are braiding.
- Continue braiding with the added extension, adding more thin sections after each following knot.
- Repeat this process three or four times, depending on the desired thickness of the braid. When this thickness is achieved, continue braiding to the end without adding more extensions.
- Ensure that the end of the braid consists of only hair extension – dip the end into boiling water to secure the ends safely – pat dry with a towel, pressing the end tightly to secure it.
- Alternatively – you could add beads to the extensions or clips.
- Repeat until all the hair is braided.
This is a slow process and could take hours – be patient to ensure a neat look. Care for these braids by regularly wetting them and patting them dry with a towel. Also, apply hair cream to the scalp and original hair for added moisture and protection. Sleep with a silk or satin head wrap. Well-maintained braids can be kept for up to 8 weeks.
TWO-STRAND TWISTS

This hairstyle is relatively easy to do, the twists are lightweight, there is no tension and no heat is required. Here is how to accomplish this style:
- Start with clean hair that has been prepped with detangling oil and allowed to air dry.
- Decide how thick you wish the twists to be and section the hair accordingly. The sections should be uniform in size. Make them very neat around the front hairline, while the parts in the back of the head can be less exact (since they will be covered).
- Use your hands to comb each individual section while using some sort of holding agent – such as a locking gel.
- Divide the section into two even parts and begin to twist the two sections around each other. Some recommend twisting the sections around themselves, using your finger first, and then around each other.
- Continue, working your way down, always twisting in the same direction. The direction usually depends on whether you are right or left-handed. The different sections do not have to all be twisted in the same direction, but within one section you should consistently twist in the same direction. At the front hairline, if you wish to create bangs – twist towards your face. This will cause the twists to naturally hang forward. Twisting away from your face will cause them to fall backward.
- Try to keep the same tension for an even look and to ensure that the twist doesn’t easily unravel.
- When you reach the ends of the hair, you can use a dab of oil or a holding agent to secure the ends. Hold the twist with two fingers and gradually release so that the twist will loosen and settle on its own.
Depending on your hair and how wet it was to begin with, the twists can be skinny or puffy. They will likely puff out over time – as they can be kept from one to a few weeks. You can wash the hair without undoing the twists – simply concentrate on cleaning the scalp while manipulating the twists as little as possible.
Once you’ve mastered the simple basic style, you can experiment with styling the twists into ponytails, up-dos, or twist-outs.
BANTU KNOTS

This hairstyle, first created by the Zulu people of Southern Africa, has a long and rich history and has been around for over 100 years. It can be used on both natural and chemically relaxed hair and is often used as a style to preserve or create defined curly styles.
How to create your own Bantu knots:
- Start with clean hair that has been deep conditioned. The hair can be wet or dry – your preference.
- Section the hair – the number of sections depends on how many knots you wish to create. Use a rat tail comb and secure each section with a clip.
- First, do a two-strand twist on each section – keeping a spray bottle with water nearby to re-wet your hair if necessary. When making these twists, try to twist them as tightly as possible. This does not mean that you should create a lot of tension by pulling at the hair follicles, instead use a holding agent such as gel or custard to allow you to twist the hair neatly and tightly.
- Wrapping your Bantu knots in a way that works for your hair’s density and length takes some trial and error. Use one hand to wrap the hair while the other holds the knot’s base. Once the knot is fully wrapped – tuck it in using your fingernail or the tip of your rat tail comb.
- Continue wrapping the remaining twists.
Some prefer to skip the two-strand twists and immediately start wrapping, however, this is more difficult to do.
Secure the knots with bobby pins before using a silk or satin head wrap at night. Try to avoid manipulating your hair by re-twisting daily since this defeats the purpose of this hairstyle being low maintenance and protective.
When starting out with protective styles – these you should start with the help of a professional:
KNOTLESS BRAIDS – eliminating the need for knots at the hairline (where extensions are traditionally attached) means this style is less painful, reduces tension, gives a more natural look, and is overall more comfortable while still providing the benefits of being a protective style.
CROCHET BRAIDS – these braids can easily be mistaken for someone’s real hair since the extensions are looped under the natural hair with the help of a crochet needle.

FAUX LOCS – this is a new approach to the iconic hairstyle. Unlike braids which look best when newly done – faux locs look better over time. They are accomplished by braiding the natural hair and then wrapping extensions around the braids.
GODDESS LOCS – a variation of the above-mentioned faux locs but with a more bohemian vibe. With goddess locs – the ends are left curly or wavy instead of being sealed. Additionally, faux locs have a rougher feel than goddess locs, which are more smooth and shiny.
Sources We Found Helpful:
https://www.luxyhair.com/blogs/hair-blog/protective-hairstyles
Fulani braids
https://www.byrdie.com/how-to-braid-cornrows-400296
https://www.allthingshair.com/en-uk/hairstyles-haircuts/braids/boxer-braid/